Teaching the Problem-Solving Process: Free Poster & Lesson Plan for Elementary Students
Every day, elementary students face challenges—whether it’s figuring out how to fix a mistake, resolve a disagreement, or make a tough decision. But without a clear process, students may feel frustrated, stuck, or unsure of what to do next.
Related resources: See our full list of social skills lessons.
That’s why teaching a structured approach to problem-solving is essential. When students learn a repeatable, step-by-step process, they gain the confidence and critical thinking skills they need to tackle everyday challenges independently.
This article breaks down:
- The four-step problem-solving process that helps students think through decisions
- How to teach problem-solving effectively using real-world examples and interactive activities
- A free classroom-ready Problem-Solving Process Poster to reinforce learning
- A step-by-step lesson plan to help students apply their problem-solving skills in a structured way
By the end, you’ll have practical tools and strategies to help students develop stronger decision-making and critical thinking skills that they’ll use in and out of the classroom.
Download 30+ Printable Social Skills Posters
Ready-to-use visuals for emotional regulation, self-advocacy, and more
What Is the Problem-Solving Process?
Problem-solving is the ability to recognize a challenge, think through possible solutions, and take action to resolve it. It’s a fundamental skill that helps elementary students navigate academic, social, and real-world situations with confidence.
Without a structured approach, young students may feel overwhelmed when faced with a problem, leading to frustration, avoidance, or impulsive decision-making. Teaching a clear, repeatable process helps children stay calm, assess situations logically, and work toward solutions effectively.
The Four-Step Problem-Solving Process
Problem-solving can feel overwhelming for elementary students, especially when they don’t know where to start. By breaking it down into four simple steps, students learn to pause, think through their options, and choose the best course of action rather than reacting impulsively.
Step 1: Identify the Problem
The first step in solving any problem is recognizing that one exists. But for students, simply stating “I have a problem” isn’t enough—they need to clearly define what’s wrong.
Encourage students to be specific when describing a problem so they can better understand what needs to be solved.
Being able to clearly identify the problem sets the stage for finding a meaningful solution.
Step 2: Decide if You Need Help
Not every problem requires outside help—some challenges can be solved independently. But knowing when to ask for support is just as important as knowing when to handle a problem alone.
Help students think through whether they need help by asking:
- Can I solve this on my own, or is this a big problem that requires adult assistance?
- If I try to solve it myself, what are my options?
By learning to assess the situation, students become more independent decision-makers while still knowing when to seek support.
Step 3: Come Up with Multiple Solutions
Once students recognize the problem and decide whether they need help, the next step is to brainstorm possible solutions.
At this stage, encourage creative and flexible thinking—the first solution isn’t always the best one, so it’s important to explore different options.
Coming up with multiple solutions helps students see that problems aren’t just obstacles—they’re opportunities to think critically and make decisions.
Step 4: Choose the Best Solution
With several possible solutions in mind, students now need to evaluate their options and select the best one. This means considering:
- Is this solution realistic?
- Will it solve the problem effectively?
- What might happen as a result of this choice?
By taking time to think through their options before making a decision, students gain confidence in their ability to solve problems effectively.
How to Teach the Problem-Solving Process
Teaching problem-solving effectively requires more than just explaining the steps—it works best when students see the process in action, practice it regularly, and have visual tools to reinforce their learning.
By combining visual supports, real-world modeling, and interactive activities, educators can help students internalize problem-solving strategies and apply them independently in their daily lives.
1. Use Problem-Solving Visuals
Students learn best when they have a clear, visual reference for new concepts. Displaying a problem-solving process poster in the classroom serves as a constant reminder of the four-step approach.
- Hang the free problem-solving process poster in a visible location where students can easily refer to it.
- Use the poster to walk through problem-solving steps together as a class.
- Encourage students to point to the steps when discussing problems, reinforcing the habit of thinking through solutions instead of reacting impulsively.
By anchoring learning with a visual, students gain confidence in navigating everyday challenges using the four-step framework.
")
2. Model Problem-Solving Through Real Scenarios
Seeing problem-solving modeled in action helps students understand how to apply the steps in their own lives. Use realistic classroom problem-solving scenarios to demonstrate how to walk through each step effectively.
Example discussions:
- A student forgets their homework—what should they do?
- Two students both want the same marker—how can they resolve the conflict?
- A group project isn’t going well—what are the possible solutions?
Instead of simply telling students what to do, guide them through the problem-solving process by asking:
- What is the problem?
- Can you solve this on your own, or do you need help?
- What are some possible solutions?
- Which solution makes the most sense?
Encourage class discussions where students collaborate to brainstorm multiple solutions, reinforcing critical thinking and decision-making skills.
3. Reinforce Learning with Interactive Activities
To ensure students truly absorb the problem-solving process, incorporate hands-on activities that make learning engaging and memorable.
- Problem-Solving Role-Play: Assign students different real-life scenarios and have them act out problem-solving steps.
- Problem of the Day: Present a daily classroom challenge and ask students to work through the four-step process together.
- Problem-Solving Journal: Have students keep a journal where they record challenges they’ve faced and how they applied the problem-solving process to resolve them.
4. Encourage Independent Application
As students become more familiar with the problem-solving process, gradually shift responsibility to them.
When students come to you with a small problem, guide them by asking:
- What is the problem?
- What solutions have you considered?
- Which one do you think will work best?
Over time, students internalize the process and learn to apply it without prompting. By creating an environment where problem-solving is an active, ongoing practice, students develop lifelong critical thinking skills that will serve them well beyond the classroom.
Get Free Problem-Solving Activities for PK-12
No-prep worksheets, games, and lesson plans for your classroom or therapy sessions.
Teach the Problem-Solving Process With This Poster & Lesson Plan
Having a clear, visual guide can help students better practice the problem-solving process. That’s where the Problem-Solving Process Poster comes in. This classroom-ready visual reinforces the four-step framework that students can use whenever they encounter a challenge.
To help students understand and apply the problem-solving process from the poster, this structured lesson plan introduces the four steps through modeling, group activities, and independent practice.
Problem-Solving Process Lesson Plan Overview
By the end of this lesson, students will be able to:
- Demonstrate an understanding of the four-step problem-solving process
- Apply the process to real-world scenarios
- Work collaboratively to brainstorm and evaluate solutions
Materials:
- Problem-Solving Process Poster
- Sticky notes
- Markers
Step 1: Introduction (10 minutes)
Display the Problem-Solving Process Poster at the front of the classroom and introduce it as a tool students can use whenever they face challenges. Walk through each step with a relatable example to show how the process works in real life.
Example: Imagine your favorite toy breaks. What should you do?
- Identify the problem: “My toy is broken.”
- Decide if you need help: “Can I fix this myself, or do I need an adult?”
- Come up with multiple solutions: “Try to fix it, ask an adult for help, or find a different way to play.”
- Choose the best solution: “If it’s a small break, I’ll try to fix it. If it’s too damaged, I’ll ask for help.”
Encourage students to think aloud and ask questions, reinforcing that problem-solving is about thinking through challenges logically.
Step 2: Group Activity: Problem-Solving in Action (15 minutes)
Break students into small groups and assign each group a realistic classroom problem to solve. Examples include:
- Two students want to use the same book—what should they do?
- The class is too noisy during quiet reading time—how can they solve this problem?
- A student loses their lunchbox—what are their options?
Each group will:
- Write their problem and possible solutions on sticky notes
- Use the Problem-Solving Process Poster as a reference
- Present their thinking process to the class
After each group presents, discuss their solutions together, encouraging students to evaluate different approaches.
Step 3: Independent Practice: Applying the Process (10 minutes)
Now that students have worked through group scenarios, it’s time for individual application.
Present a classroom challenge for students to solve on their own. Example:
- “Our classroom supplies are always messy—how can we solve this problem?”
Ask students to:
- Write down their problem and potential solutions
- Place their sticky notes under the correct step on the Problem-Solving Process Poster
As a class, review student responses and discuss:
- How did students decide on the best solution?
- Were there multiple good solutions?
- What would they do if the first solution didn’t work?
This activity reinforces independent thinking and decision-making skills.
Step 4. Reflection & Wrap-Up (5 minutes)
To close the lesson, bring students together for a final discussion:
- How does this process help us make better decisions?
- Did anyone struggle to come up with multiple solutions? What helped?
- How can we use this process in our daily lives?
Key Takeaway: Problem-solving is a skill that improves with practice—and sometimes, the first solution doesn’t work! Reinforce that adjusting and trying again is part of the process.
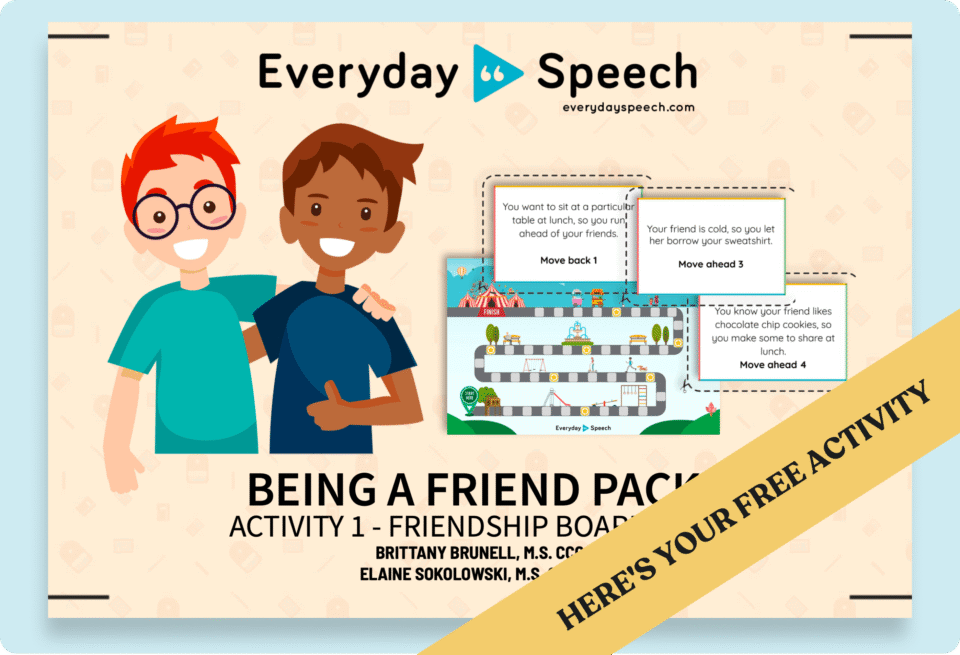
Want More? Access Additional Free Resources!
Everyday Speech is a no-prep digital curriculum that combines evidence-based video modeling, interactive web games, and digital and printable worksheets to make teaching social skills easy.
We offer a free 30-day trial where you can use our thousands of video lessons, worksheets, and games to teach social skills like problem-solving.
Here’s an example video modeling lesson for teaching problem-solving from our curriculum: